To create a company post, navigate to your Account picture in the upper right-hand corner.
*If you are a consultant user, you will already be on the Admin side of the site or will need to first click and toggle to the Employee Portal.

Then select "Switch To Admin"

Company posts will push out email notifications to all employees at the time of clicking "post" that have been invited to the platform. Each post will have the company name and logo on them. If the logo needs to be updated, click the image icon and upload an image. If the company name needs to be modified, click here to learn how to update it.

Enter the text for your post in the text area (including any hyperlinks/formatting).

Best practice is to add an image, document (ex: PDF brochure or presentation), a video, etc. to engage people.
To do this, select the upload arrow in the bottom left-hand corner of the post box. Click and drag the file from your computer to upload or select the folder where it's saved.
Then, select Upload.

If you have more than one file to upload (ex: a flyer and a presentation), after uploading the first file, select "upload more" until you're done adding the files and then select Upload.


If you want to pin a post to the top of the feed, toggle on the Pin Post option and put in the # of days you'd like it pinned for. Only one post can be pinned at a time.

Each post is searchable in the database based on key words, so be mindful of that when adding the text so that people can easily reference back to it if searching.


If this is a post you only want going out to a specific department/location select the drop down to change the audience the post will be sent to. If you need to add departments/locations, click here.

Once you're ready to post click "Post"!


How to Edit a Company Post
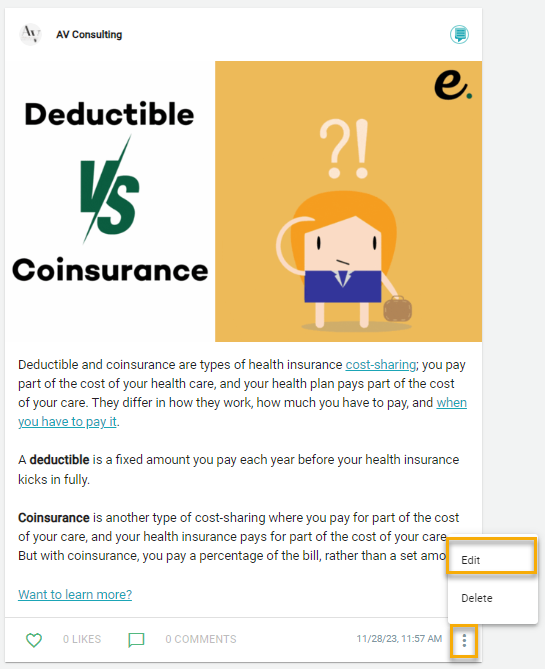
If you need to make edits to an existing post, from the Admin side, find the post and click the ellipses and select "edit".
Once you're done making edits, click "Post".
This will not send out new email notifications.
